
Step 1: Install the package required
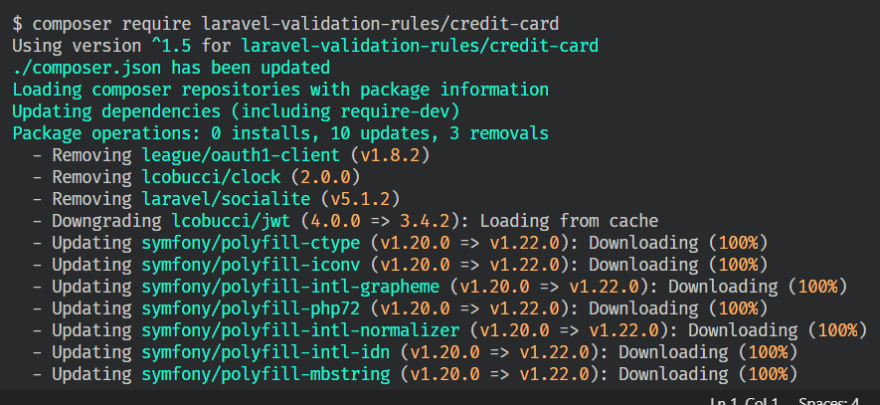
We are going to be using a package Laravel Validator Rules - Credit Card, so we need to install it
composer require laravel-validation-rules/credit-card
Step 2: Create the Form Request
For a comprehensive explanation of this step, check out this material Laravel Form Validation
php artisan make:request CardVerificationRequest
Step 3: Write the Form Request Rules and Error Message
Open the file that is created in app/Http/Requests/, CardVerificationRequest.php and edit to this
<?php

namespace App\Http\Requests;

use LVR\CreditCard\CardCvc;
use LVR\CreditCard\CardNumber;
use LVR\CreditCard\CardExpirationYear;
use LVR\CreditCard\CardExpirationMonth;
use Illuminate\Foundation\Http\FormRequest;

class CardVerificationRequest extends FormRequest
{
    /**
     * Determine if the user is authorized to make this request.
     *
     * @return bool
     */
    public function authorize()
    {
        return true;
    }

    /**
     * Get the validation rules that apply to the request.
     *
     * @return array
     */
    public function rules()
    {
        return [
            'card_number' => ['required', 'unique:cards,cardNo', new CardNumber],
            'expiration_year' => ['required', new CardExpirationYear($this->get('expiration_month'))],
            'expiration_month' => ['required', new CardExpirationMonth($this->get('expiration_year'))],
            'cvc' => ['required', new CardCvc($this->get('card_number'))]
        ];
    }

    public function messages()
    {
        return [
            'card_number.required' => 'The card number is compulsory'
        ];
    }
}
Step 4: Type-hint the CardVerificationRequest in our Controller
Go to the controller method, where you want to use the validation and use my code as a guide
    /**
     * Store a newly created resource in storage.
     *
     * @param  \App\Http\Requests\CardVerificationRequest  $request
     * @return \Illuminate\Http\Response
     */
    public function store(CardVerificationRequest $request)
    {

        $validatedData = $request->validated();

        $newCard = new Card;

        $newCard->cardNo = $validatedData["card_number"];
        $newCard->cardExpiringMonth = $validatedData["expiration_month"];
        $newCard->cardExpiringYear = $validatedData["expiration_year"];
        $newCard->cardCVV = $validatedData["cvc"];

        $newCard->save();

        return response()->json([
            "status" => "success",
            "message" => "Card saved successfully.",
            "data" => $newCard
        ], StatusCodes::SUCCESS);
    }
Testing
Running the app with fields that violates the rules
When the fields are correct
Follow me for more of my articles, you can leave comments, suggestions, and reactions.
I am open to any vacancy as a PHP (Laravel) backend engineer, I am also available for any job.


