Middleware acts as a bridge between a request and a response. It is a type of filtering mechanism. This chapter explains you the middleware mechanism in Laravel.
Laravel includes a middleware that verifies whether the user of the application is authenticated or not. If the user is authenticated, it redirects to the home page otherwise, if not, it redirects to the login page.
Middleware can be created by executing the following command −
php artisan make:middleware <middleware-name>
Replace the <middleware-name> with the name of your middleware. The middleware that you create can be seen at app/Http/Middleware directory.
Example
Observe the following example to understand the middleware mechanism −
Step 1 − Let us now create AgeMiddleware. To create that, we need to execute the following command −
php artisan make:middleware AgeMiddleware
Step 2 − After successful execution of the command, you will receive the following output −
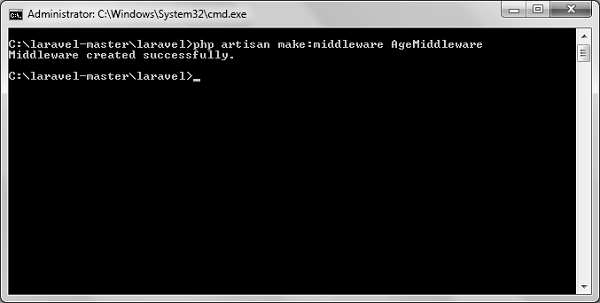
Step 3 − AgeMiddleware will be created at app/Http/Middleware. The newly created file will have the following code already created for you.
<?php

namespace App\Http\Middleware;
use Closure;

class AgeMiddleware {
   public function handle($request, Closure $next) {
      return $next($request);
   }
}
Registering Middleware
We need to register each and every middleware before using it. There are two types of Middleware in Laravel.
- Global Middleware
- Route Middleware
The Global Middleware will run on every HTTP request of the application, whereas the Route Middleware will be assigned to a specific route. The middleware can be registered at app/Http/Kernel.php. This file contains two properties $middleware and $routeMiddleware. $middlewareproperty is used to register Global Middleware and $routeMiddlewareproperty is used to register route specific middleware.
To register the global middleware, list the class at the end of $middleware property.
protected $middleware = [
   \Illuminate\Foundation\Http\Middleware\CheckForMaintenanceMode::class,
   \App\Http\Middleware\EncryptCookies::class,
   \Illuminate\Cookie\Middleware\AddQueuedCookiesToResponse::class,
   \Illuminate\Session\Middleware\StartSession::class,
   \Illuminate\View\Middleware\ShareErrorsFromSession::class,
   \App\Http\Middleware\VerifyCsrfToken::class,
];
To register the route specific middleware, add the key and value to $routeMiddleware property.
protected $routeMiddleware = [
   'auth' => \App\Http\Middleware\Authenticate::class,
   'auth.basic' => \Illuminate\Auth\Middleware\AuthenticateWithBasicAuth::class,
   'guest' => \App\Http\Middleware\RedirectIfAuthenticated::class,
];
Example
We have created AgeMiddleware in the previous example. We can now register it in route specific middleware property. The code for that registration is shown below.
The following is the code for app/Http/Kernel.php −
<?php

namespace App\Http;
use Illuminate\Foundation\Http\Kernel as HttpKernel;

class Kernel extends HttpKernel {
   protected $middleware = [
      \Illuminate\Foundation\Http\Middleware\CheckForMaintenanceMode::class,
      \App\Http\Middleware\EncryptCookies::class,
      \Illuminate\Cookie\Middleware\AddQueuedCookiesToResponse::class,
      \Illuminate\Session\Middleware\StartSession::class,
      \Illuminate\View\Middleware\ShareErrorsFromSession::class,
      \App\Http\Middleware\VerifyCsrfToken::class,
   ];

   protected $routeMiddleware = [
      'auth' => \App\Http\Middleware\Authenticate::class,
      'auth.basic' => \Illuminate\Auth\Middleware\AuthenticateWithBasicAuth::class,
      'guest' => \App\Http\Middleware\RedirectIfAuthenticated::class,
      'Age' => \App\Http\Middleware\AgeMiddleware::class,
   ];
}
Middleware Parameters
We can also pass parameters with the Middleware. For example, if your application has different roles like user, admin, super admin etc. and you want to authenticate the action based on role, this can be achieved by passing parameters with middleware. The middleware that we create contains the following function and we can pass our custom argument after the $nextargument.
public function handle($request, Closure $next) {
   return $next($request);
}
Example
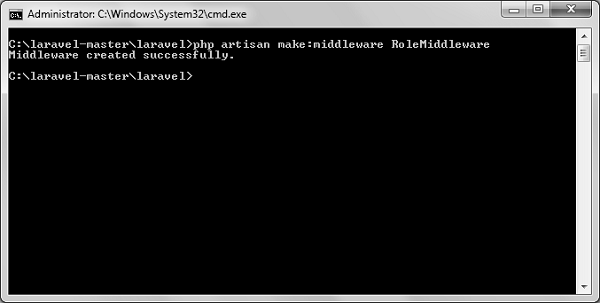
Step 1 − Create RoleMiddleware by executing the following command −
php artisan make:middleware RoleMiddleware
Step 2 − After successful execution, you will receive the following output −
Step 3 − Add the following code in the handle method of the newly created RoleMiddlewareat app/Http/Middleware/RoleMiddleware.php.
<?php

namespace App\Http\Middleware;
use Closure;

class RoleMiddleware {
   public function handle($request, Closure $next, $role) {
      echo "Role: ".$role;
      return $next($request);
   }
}
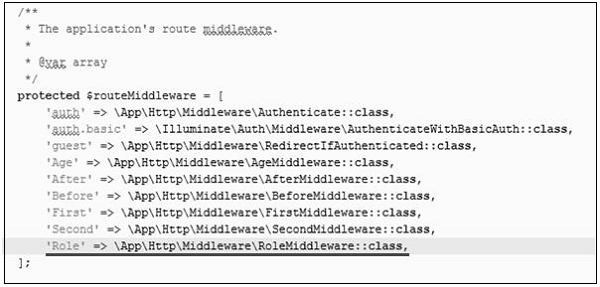
Step 4 − Register the RoleMiddleware in app\Http\Kernel.php file. Add the line highlighted in gray color in that file to register RoleMiddleware.
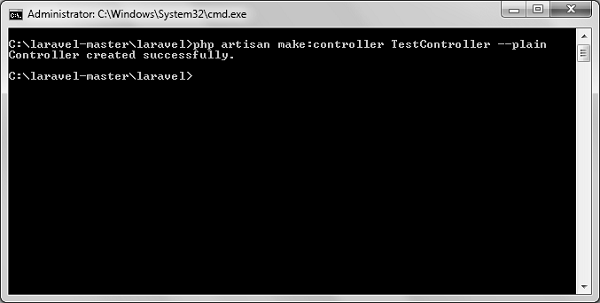
Step 5 − Execute the following command to create TestController −
php artisan make:controller TestController --plain
Step 6 − After successful execution of the above step, you will receive the following output −
Step 7 − Copy the following lines of code to app/Http/TestController.phpfile.
app/Http/TestController.php
<?php

namespace App\Http\Controllers;

use Illuminate\Http\Request;
use App\Http\Requests;
use App\Http\Controllers\Controller;

class TestController extends Controller {
   public function index(){
      echo "<br>Test Controller.";
   }
}
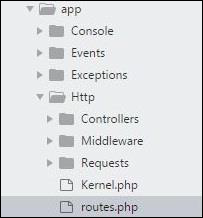
Step 8 − Add the following line of code in app/Http/routes.php file.
app/Http/routes.php
Route::get('role',[
   'middleware' => 'Role:editor',
   'uses' => 'TestController@index',
]);
Step 9 − Visit the following URL to test the Middleware with parameters
http://localhost:8000/role
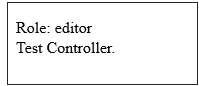
Step 10 − The output will appear as shown in the following image.
Terminable Middleware
Terminable middleware performs some task after the response has been sent to the browser. This can be accomplished by creating a middleware with terminate method in the middleware. Terminable middleware should be registered with global middleware. The terminate method will receive two arguments $request and $response. Terminate method can be created as shown in the following code.
Example
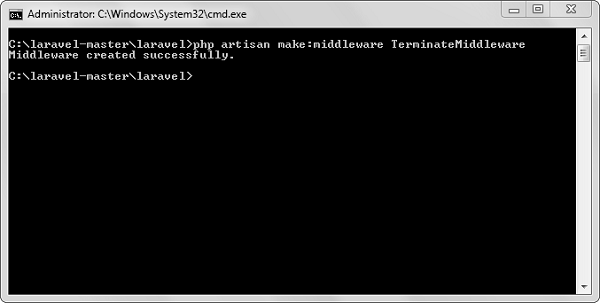
Step 1 − Create TerminateMiddleware by executing the below command.
php artisan make:middleware TerminateMiddleware
Step 2 − The above step will produce the following output −
Step 3 − Copy the following code in the newly created TerminateMiddleware at app/Http/Middleware/TerminateMiddleware.php.
<?php

namespace App\Http\Middleware;
use Closure;

class TerminateMiddleware {
   public function handle($request, Closure $next) {
      echo "Executing statements of handle method of TerminateMiddleware.";
      return $next($request);
   }

   public function terminate($request, $response){
      echo "<br>Executing statements of terminate method of TerminateMiddleware.";
   }
}
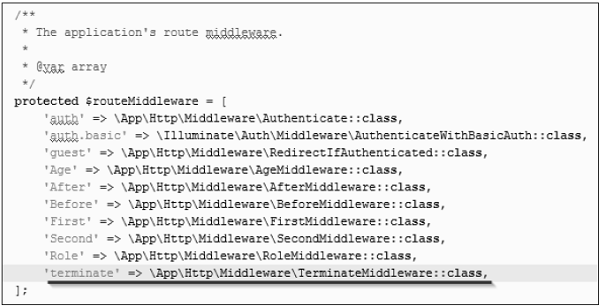
Step 4 − Register the TerminateMiddleware in app\Http\Kernel.php file. Add the line highlighted in gray color in that file to register TerminateMiddleware.
Step 5 − Execute the following command to create ABCController.
php artisan make:controller ABCController --plain
Step 6 − After the successful execution of the URL, you will receive the following output −

Step 7 − Copy the following code to app/Http/ABCController.php file.
app/Http/ABCController.php
<?php

namespace App\Http\Controllers;

use Illuminate\Http\Request;
use App\Http\Requests;
use App\Http\Controllers\Controller;

class ABCController extends Controller {
   public function index(){
      echo "<br>ABC Controller.";
   }
}
Step 8 − Add the following line of code in app/Http/routes.php file.
app/Http/routes.php
Route::get('terminate',[
   'middleware' => 'terminate',
   'uses' => 'ABCController@index',
]);
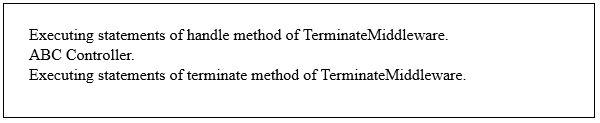
Step 9 − Visit the following URL to test the Terminable Middleware.
http://localhost:8000/terminate
Step 10 − The output will appear as shown in the following image.