Tip: click the − / + button to expand or collapse a technology. Each child level can point directly to its Blogger Label, so you can keep adding topics without changing the template structure.
A structured home for developers who want practical, searchable tutorials.
Structured Learning
Technology-wise levels and learning sets make it easier to move from introductory concepts toward advanced topics.
Practical Tutorials
Focused explanations, examples, code snippets and implementation-oriented topics support hands-on learning.
Developer Focused
Explore backend, frontend, databases, CMS development, interview preparation and programming topics in one place.
Responsive Experience
The homepage and tutorial pages are designed to work across desktop, tablet and mobile screens.
Fast Navigation
Search, technology levels, latest posts and learning paths provide multiple ways to reach relevant tutorials.
Production Mindset
Advanced sections emphasize architecture, APIs, databases, performance and real-world development concepts.
Start Learning. Build Better. Grow as a Developer.
Choose a technology above, explore the latest tutorials, follow a learning roadmap and use the Level Sets to continue your learning journey step by step.
Quick information about using the learning platform.
How should I start learning?
Choose a technology from Learning Levels, open its tutorials and progress through the available posts in order. You can also use the Level Sets and roadmaps to choose a focused path.
Can I learn from mobile?
Yes. The redesigned homepage and tutorial interface use responsive layouts for desktop, tablet and mobile screens.
Where can I find the latest tutorials?
The Latest Posts slider on the homepage highlights recent Blogger posts and provides direct links to the actual tutorials.
Where should I go for advanced topics?
Use the Production Learning Roadmaps and Advanced Topics section to jump into framework, backend, frontend and database-focused areas.
Add your own homepage content from Blogger Layout.
Add a banner, resource links, newsletter or custom HTML here.
Add your third homepage column from Blogger Layout.
This package needs PHP 8.1+ and Laravel 9.0 or higher. The latest version of this package needs PHP 8.2+ and Laravel 8 or higher. If you're employing an older version of the Laravel framework, Then you can utilize v3, v2, or v1 of this package. Installation and Setup For the installation purpose, you've to run this command:
composer require spatie/laravel-activitylogThe service provider will be automatically registered. If you need to store your activities in another database connection, you can specify ACTIVITY_LOGGER_DB_CONNECTION in your .env file. After that, you've to clear the application config cache:php artisan config:clearYou've to publish the migration with this command:php artisan vendor:publish --provider="Spatie\Activitylog\ActivitylogServiceProvider" --tag="activitylog-migrations"Next, you've to generate the activity_log table by using this command:php artisan migrateUsage Here's an example of how you can log some activity:activity()->log('Hey, I logged something');It will generate a record in the activity_log table. You can recover all activity utilizing the Spatie\Activitylog\Models\Activity model handed by the laravel-activitylog package.Activity::all();Here's another advanced way of doing this:activity() ->performedOn($anEloquentModel) ->causedBy($user) ->withProperties(['customProperty' => 'customValue']) ->log('Look mum, I logged something');$lastLoggedActivity = Activity::all()->last();$lastLoggedActivity->subject; //returns an instance of an eloquent model$lastLoggedActivity->causer; //returns an instance of your user model$lastLoggedActivity->getExtraProperty('customProperty'); //returns 'customValue'$lastLoggedActivity->description; //returns 'Look mum, I logged something'Automatic model event logging This package is pretty cool, it can also automatically log model events. For Example:$newsItem->name = 'updated name';$newsItem->save();//updating the newsItem will induce an activity being logged$activity = Activity::all()->last();$activity->description; //returns 'updated'$activity->subject; //returns the instance of NewsItem that was generatedWhen you Call $activity->changes. It will return the following array:['attributes' => ['name' => 'original name','text' => 'Lorum Ipsum', ],'old' => ['name' => 'updated name','text' => 'Lorum Ipsum', ],]; Other Or
By running the previous command, the activitilog.php file will be created where we can find different activity log Laravel configuration parameters. There are already several predefined parameters that can be very useful such as:
enabled – If set to false, no activities will be saved to the database. – This can be very useful if we want to disable the logging mechanism, for example in our local environment.
delete_records_older_than_days – a parameter used to automatically clean up older activity logs Laravel.
table_name – a parameter used to specify the activity Laravel log table – By default, this is set to activity_log
…
We can modify these parameters as we need or add additional based on the functionality we are building.
3 LOGGING MODEL EVENTS
Laravel activity log package can automatically log events such as a Laravel model log that is created, updated or deleted. In our User.php model, we will use the Spatie LogsActivity trait. This trait is extremely simple and has the static boot function for any model, as well as for registering an event that we described. For each event, the related query is performed and it is logged inside the database.
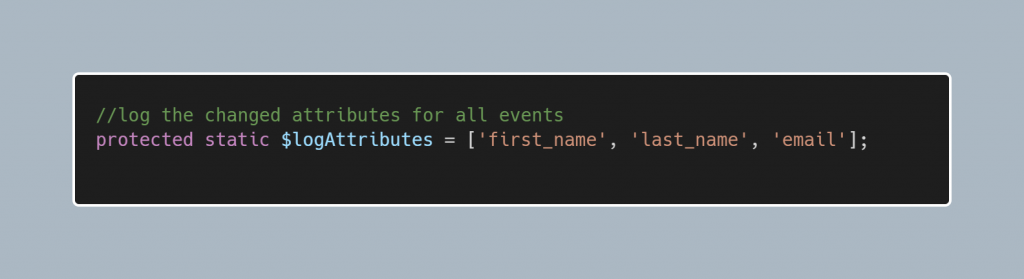
In our model we can set what attributes we will be logging by using:
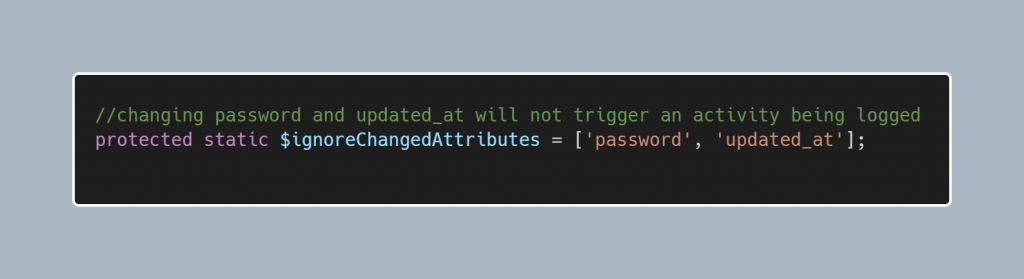
If our model contains attributes that we want to ignore on a trigger change, we can use:
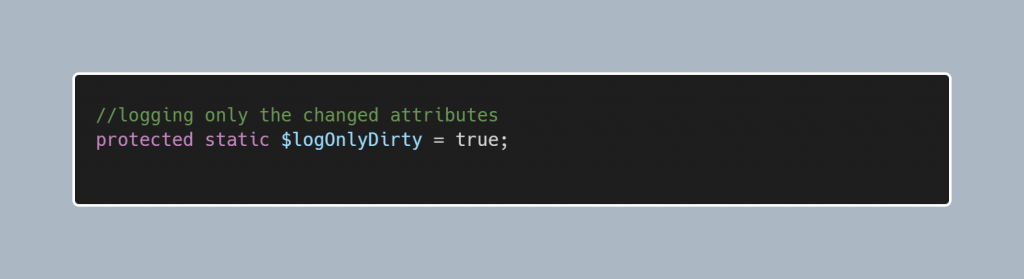
By default, this logger is configured to log every attribute of the model, but there is an easy way to change that. We can log only the changed attributes after the update by using the following configuration:
Customizing the events being logged
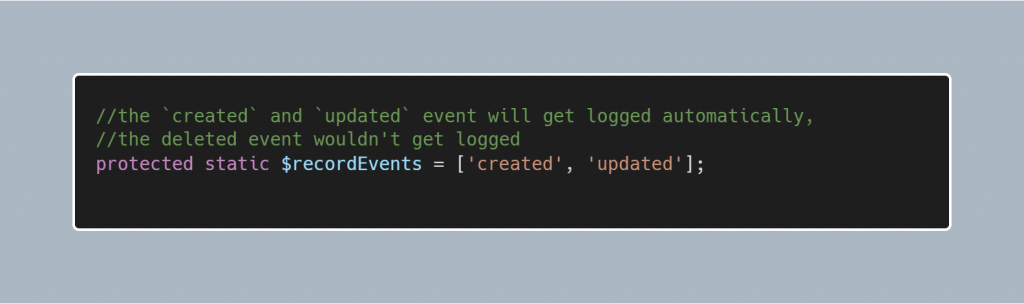
By default, the package will log the created, updated, deleted events, but we can customize with:
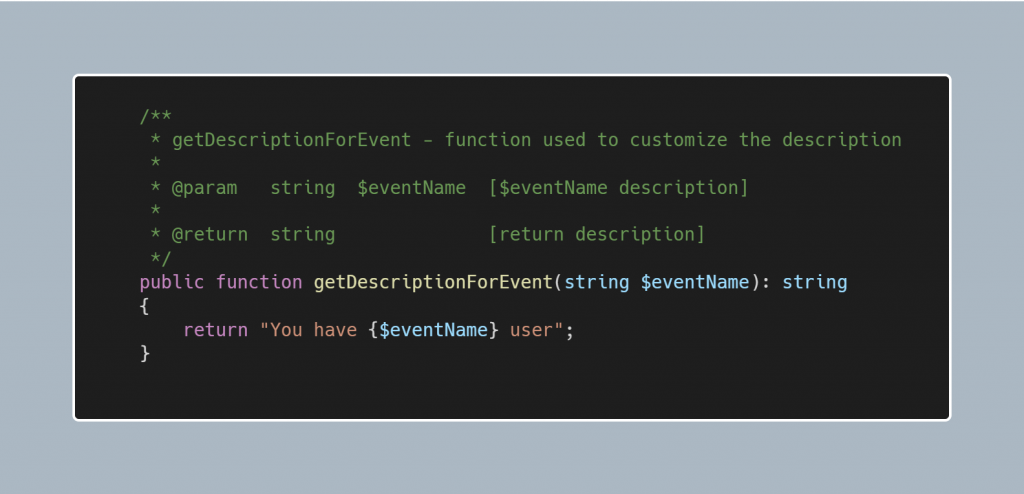
Customizing the description:
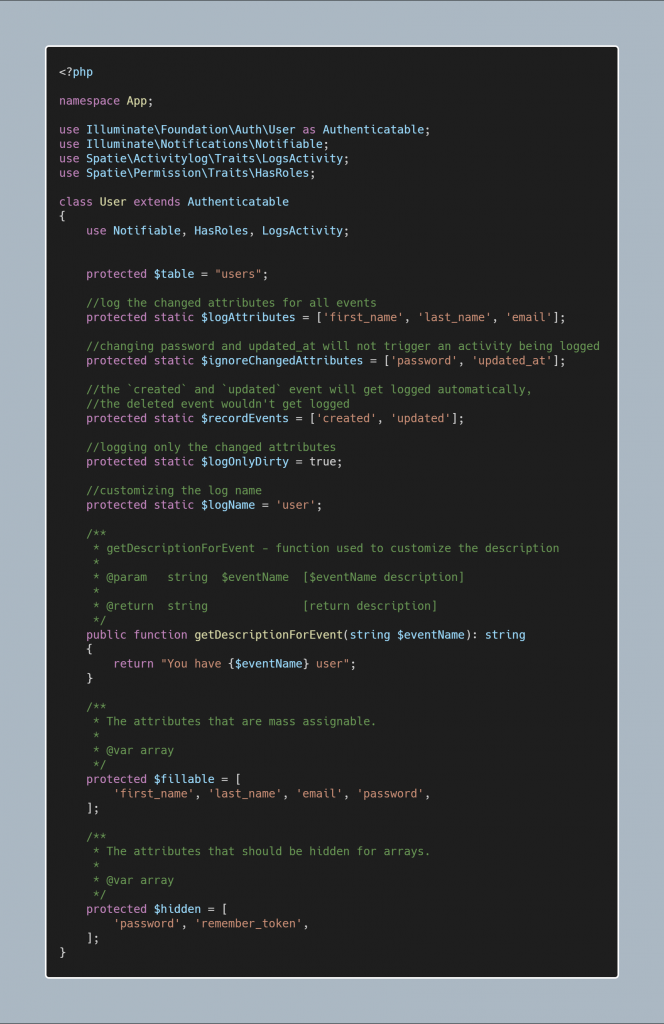
By setting the all attributes our User model looks like:
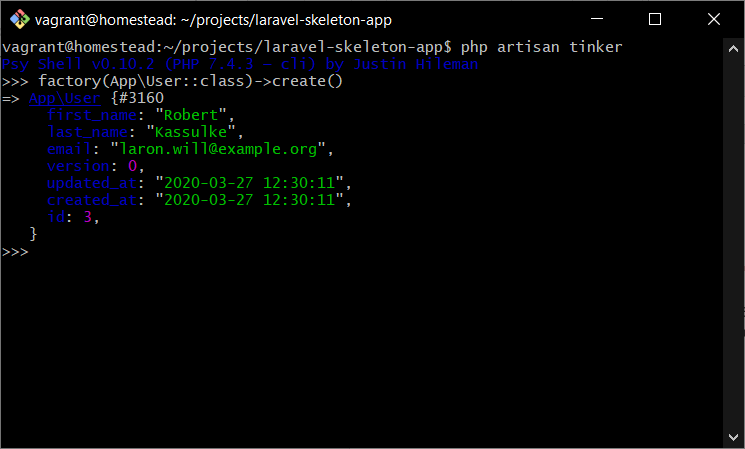
Our Laravel activity log installation, setup, and logging model events are completed and we can test it by creating, updating or deleting a user in our application.
Create a user:
activity_log table:
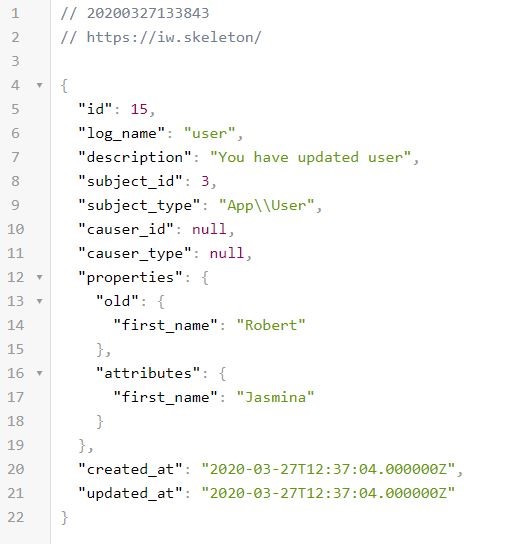
Update user:
activity_log table:
4 RECORDING LOGIN INFORMATION OF THE USERS
As we have already mentioned before, there are pre-defined Spatie logging events that are out of the box with this package. However, sometimes we want to log data on successful login or log out of the users in our application. This is also possible and easy to achieve and we need to follow the following steps:
Create an Event Listener
Map the Event Listener to the EventServiceProvider
4.1 Create an Event Listener
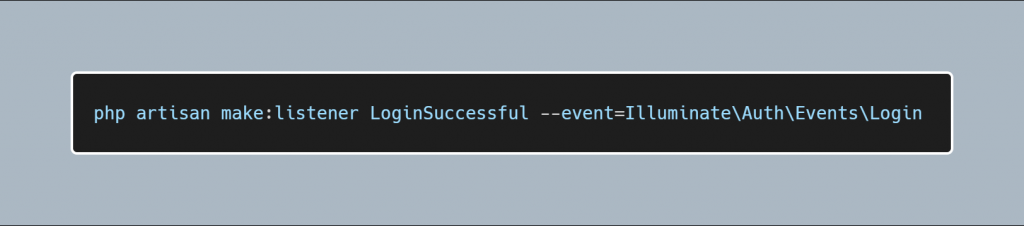
For creating an Event Listener, we need to run the following command:
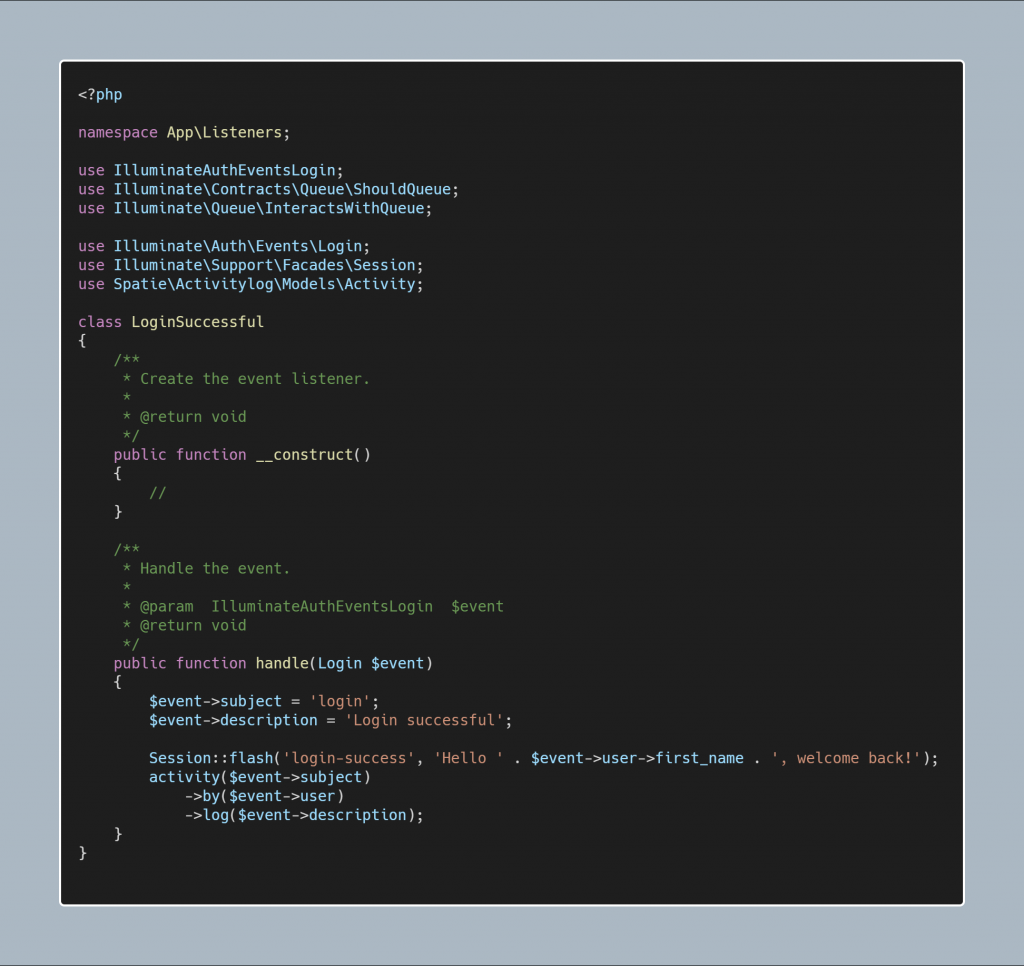
After the new Event Listener is created, insert the following code into the LoginSuccessful listener:
As we can see from the code above, we are going to simply provide the subject and the description of the Laravel log activity, and after that, we will simply flush the success message to the end-user and store the data into the activity_log table.
4.2 Map the Listener
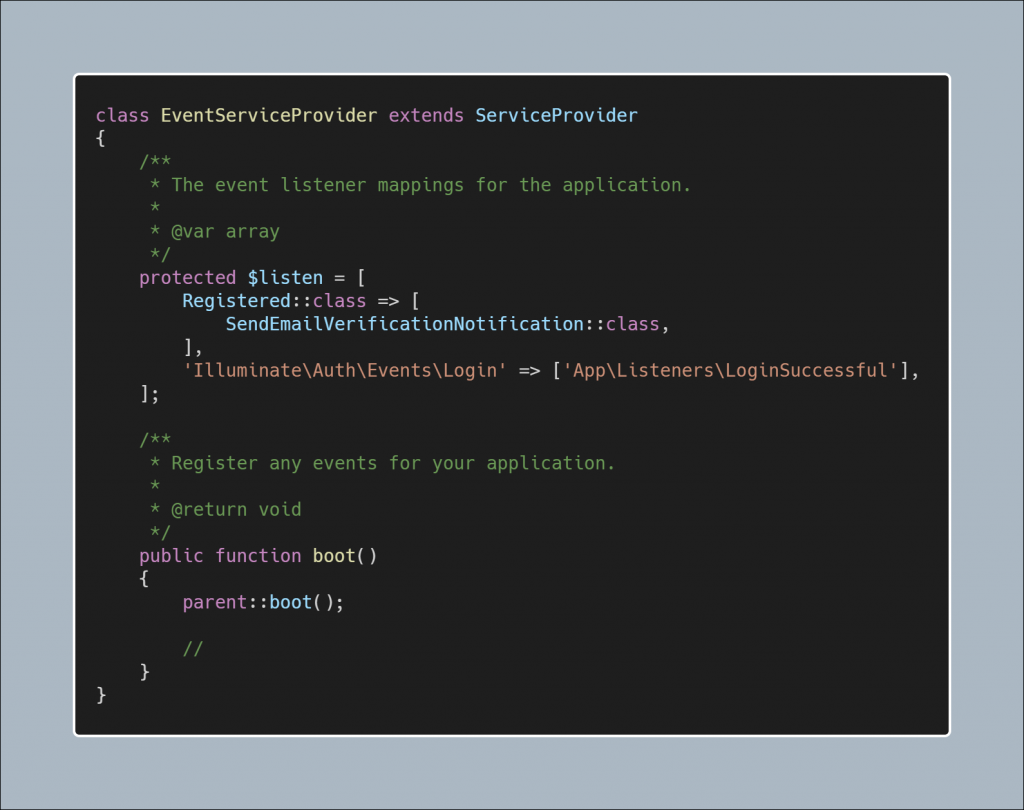
Once we created the listener, we should attach it to the EventServiceProvider.php file.
Now we can record all login activity of the user in the log activity Laravel table. When the user will login into the application a new record will be created in our table.
So, if you want to grow even more, don’t hesitate to watch a Spatie activity log tutorial again and again or any spatie/laravel-activitylog example to improve continuously.