WordPress Media Library
WordPress Media Library contains images, videos, audios, and files that can be included in the content when writing a WordPress page or post. We can see many things related to the media in the Media Library, like add, delete, and edit. In this topic, we are going to discuss the different phases of the WordPress Media Library. The following are the steps to understand the WordPress Media Library.
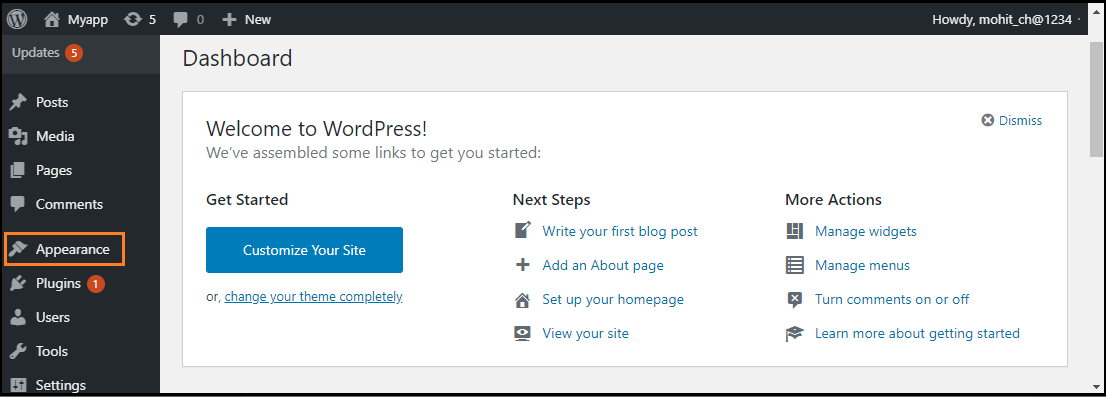
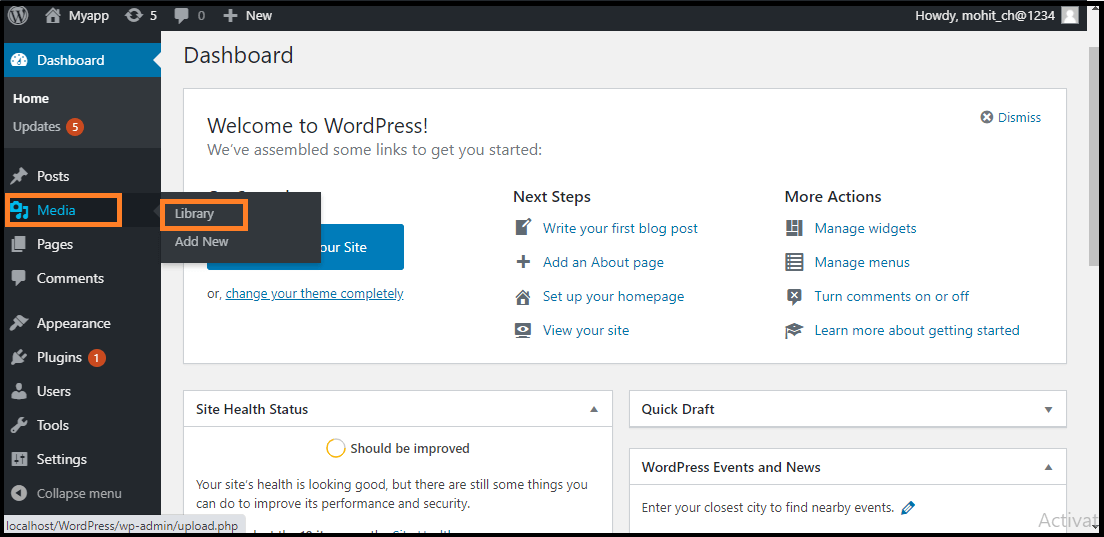
Step 1: Firstly, go to the WordPress dashboard and select the "Media" option and then click on the "Library" option.
Step 2: When we click on the Library option, we can see the various media files, such as images, videos, and audios. If we want to add new items, click on the "Add New" button.
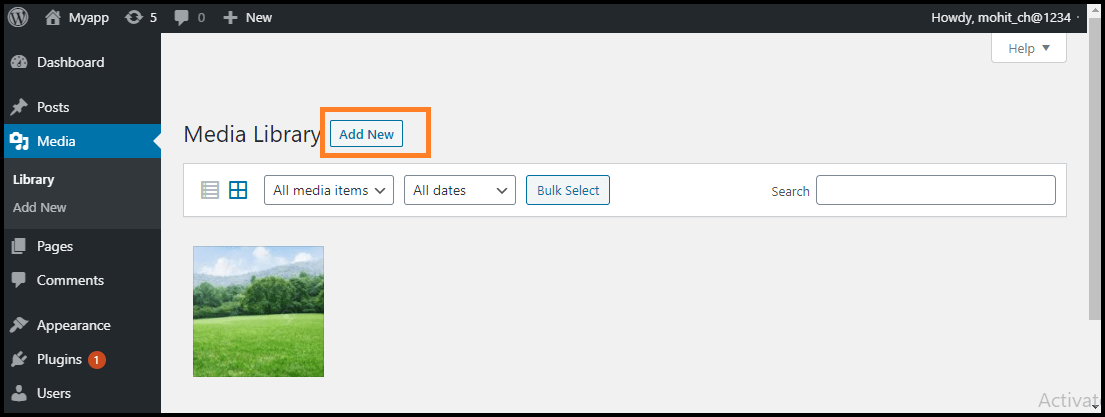
Step 3: We can see a menu bar in the Media Library that consists of many things like List view, Grid view, Filter the images and videos, and search box, as shown in the following screenshot

There are various tabs in the Media Library bar, which are as follows:
- List View: It shows the media files in the list form.
- Grid View: It helps to show all the media files in the grid format.
- Filter the images and videos: It filters the images and videos in the media library.
- Search box: It helps to find a media file by inserting the file name into the search box.
Adding the Media Files
Now, we are going to know how to add the Media Files in WordPress. WordPress permits us to add various media files, such as images, videos, and audios.
The following are the steps to add Media Files in WordPress.
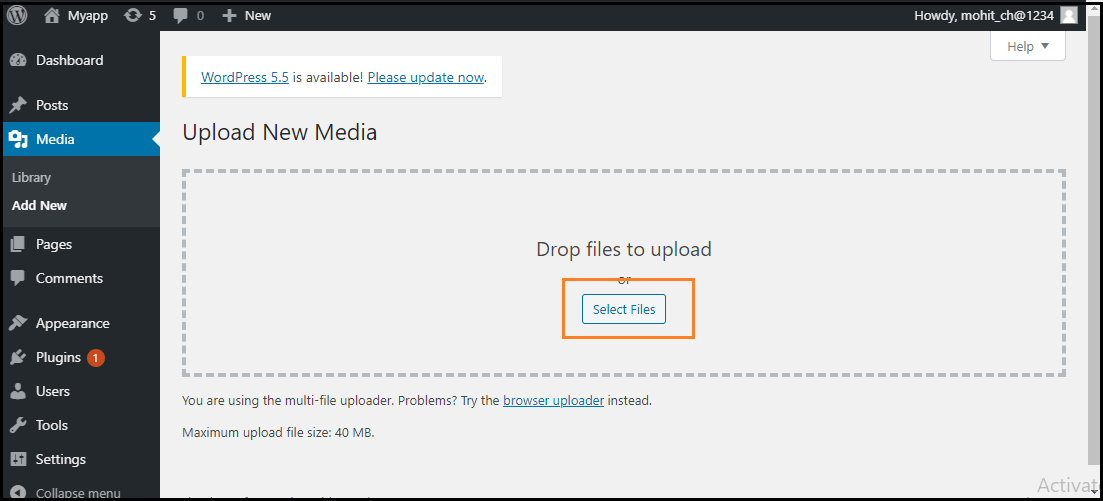
Step 1: Firstly, go to the WordPress dashboard and select the "Media" option, and then click on the "Add New" option.
Step 2: After clicking on the "Add New" option, click on the "Select Files" option to select the files from our local storage, as shown in the following screenshot.
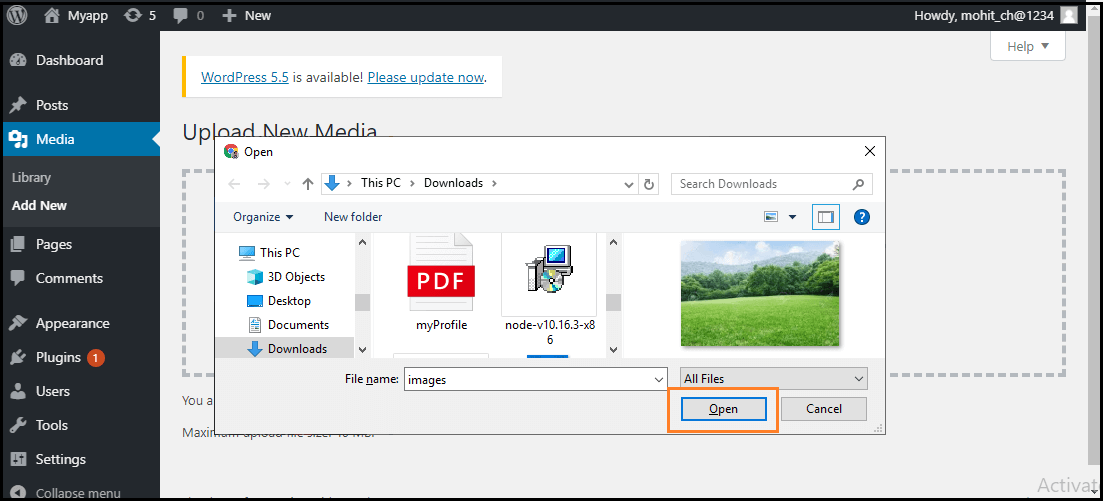
Step 3: After clicking on the Select Files, add the media files by selecting them and then click on the open button, as shown in the following screenshot.
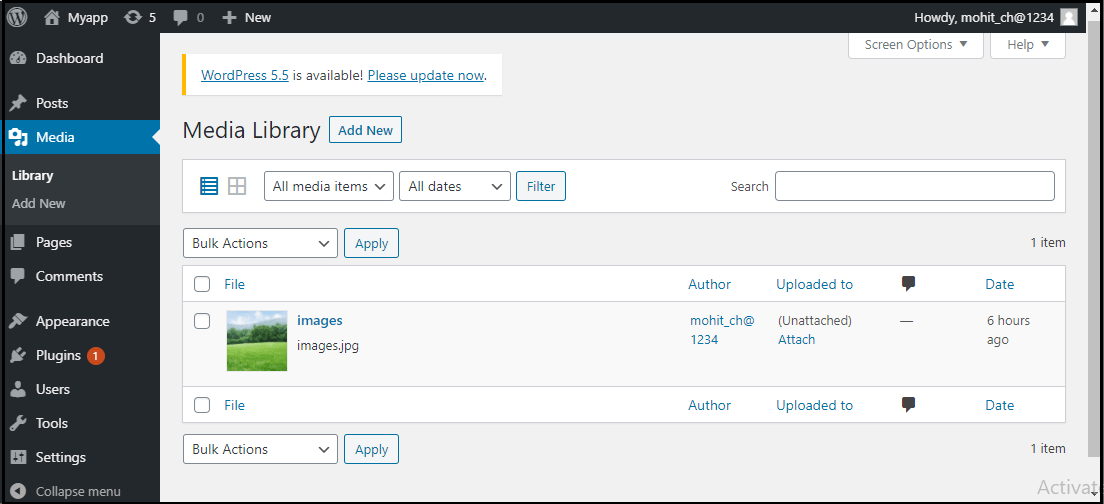
Step 4: Now, we will see the media files list that we added in the list.
Inserted the Media Files
We are going to know how we can insert the media files into a WordPress Page or Post. Media Files can be inserted from the Media Libraries, URLs, or local storage in the WordPress Page or WordPress Post. The following are the steps to insert the Media Files:
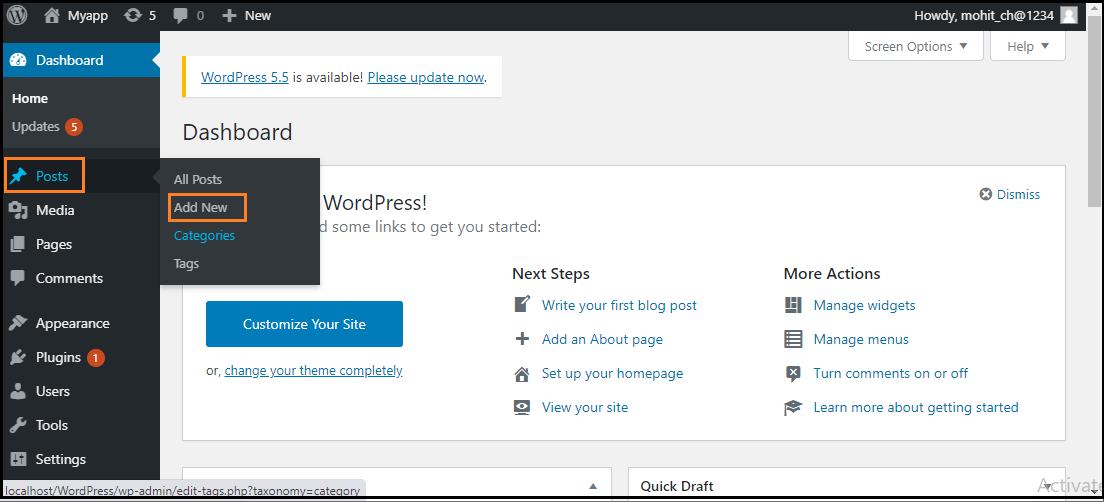
Step 1: Firstly, go to the WordPress dashboard and click on the "Posts" and then click on the "Add New" option to insert the media file in WordPress.
Step 2: After clicking on the "Add New" option, click on the "Add Media" button.
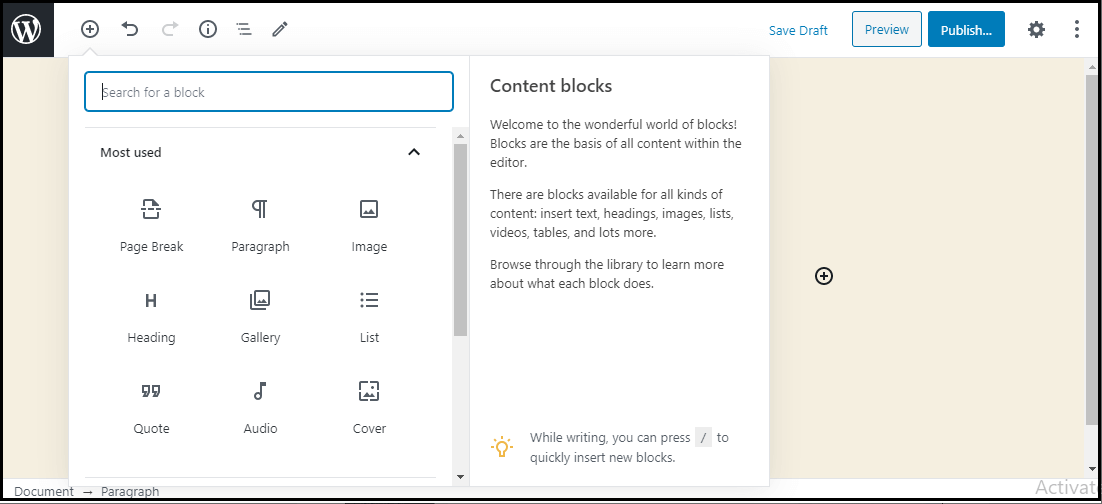
Step 3: Now, we can choose the media file from the library section.
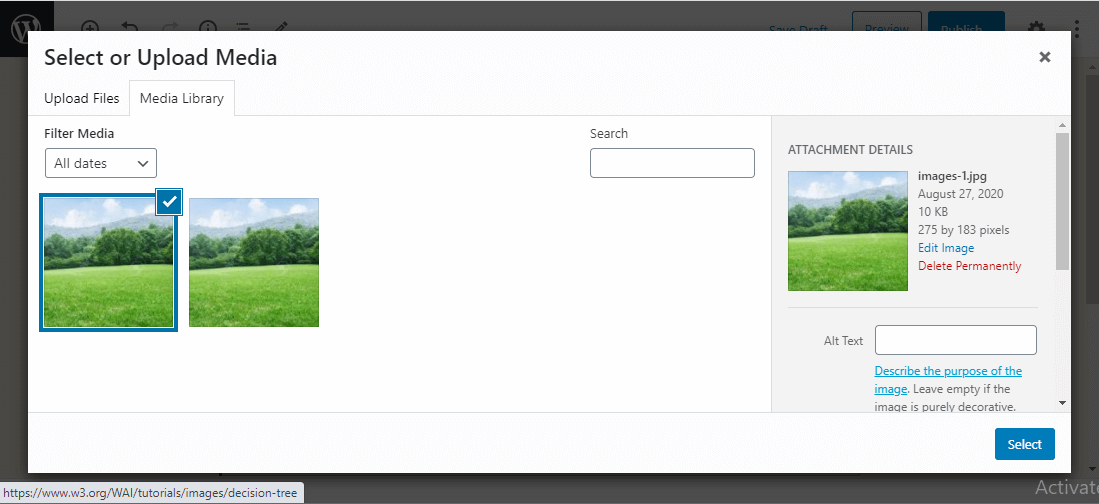
All information on the selected media file will be shown in the Attachment Details on the right side of the screen.
Step 4: Now, click on the "Select" button, then the image will be inserted in the page or post of the site.
We can also upload a file directly from the device by clicking the Upload Files button. Just click on the "Select" button.
Edit Media Files
Here, we are going to know how to Edit Media Files in WordPress. We can handle information about the Media File, which is stored in the Media Library. The following are the steps to edit the Media Files in WordPress.
Step 1: Firstly, go to the WordPress dashboard and select the "Media" option, and then click on the "Library" option. After that, click on the media file name or the edit link.
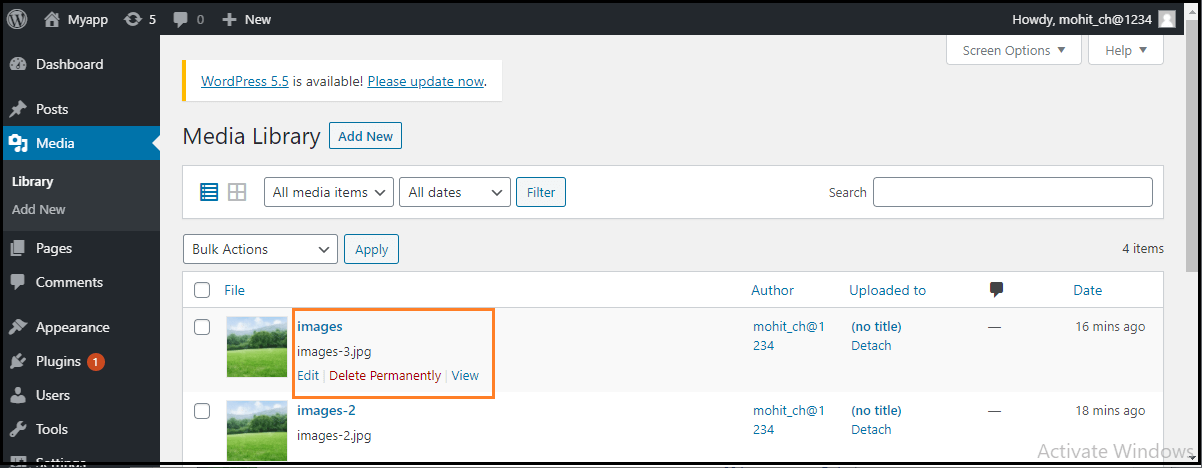
Step 2: Here, we will see the Media Files list. Now, we can select an image that we want to edit.
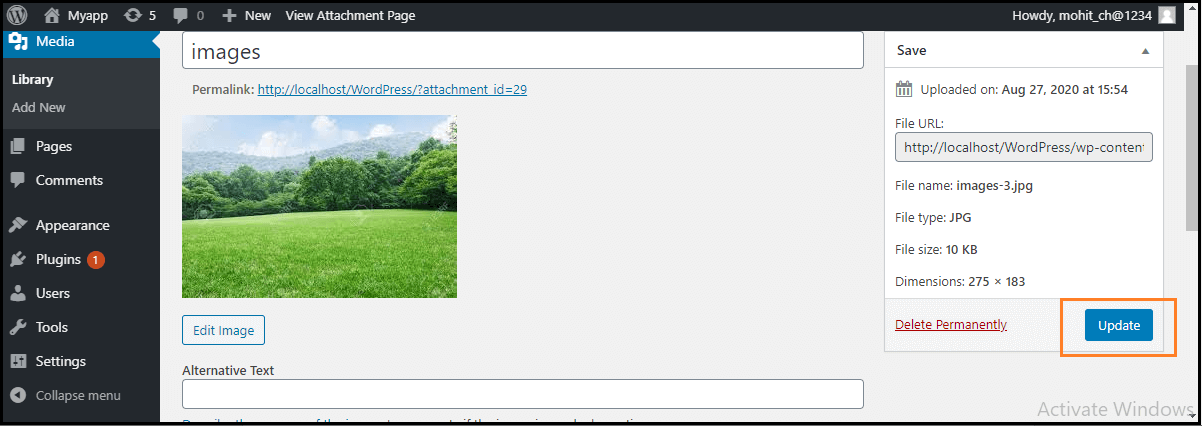
Step 3: Finally, we can see the media page with some options shown on the site. The options are as follows:
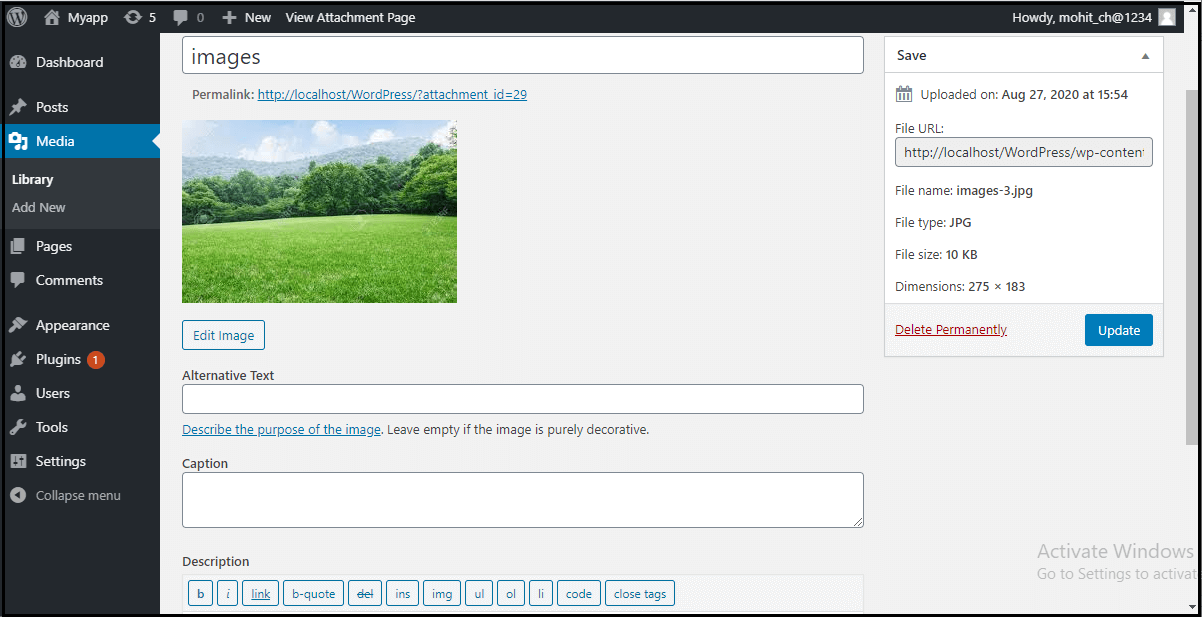
URL: It helps us to read only a link from the media file.
Title: It shows the media name. If the themes and plugins are designed to be displayed, the title will often show up in the galleries and attachment pages.
Permalink: It is the media attachment page URL. It is also a link to see the attachment page of the media file.
Edit Image button: It helps to edit the position of the image like rotate anti-clockwise, rotate clockwise, flip vertically, horizontally, crop, flip, and more.
Caption: It allows us to provide a detailed explanation of the media file.
Alternate Text: The alternate text for the image is used to describe media and is also used for the availability of images.
Description: It allows us to explain the media file.
Delete Permanently: It helps us to delete the file permanently.
Step 4: After completing all these steps, click on the Update button to save the changes.